Turning a spare room into a podcast studio doesn’t have to involve expensive renovations or complex soundproofing. With the right curtains, you can dramatically improve sound quality, visual aesthetics, and recording focus — all on a budget.
Here’s a practical step-by-step guide on how to transform your spare room into a podcast-ready recording space using studio-grade curtains.
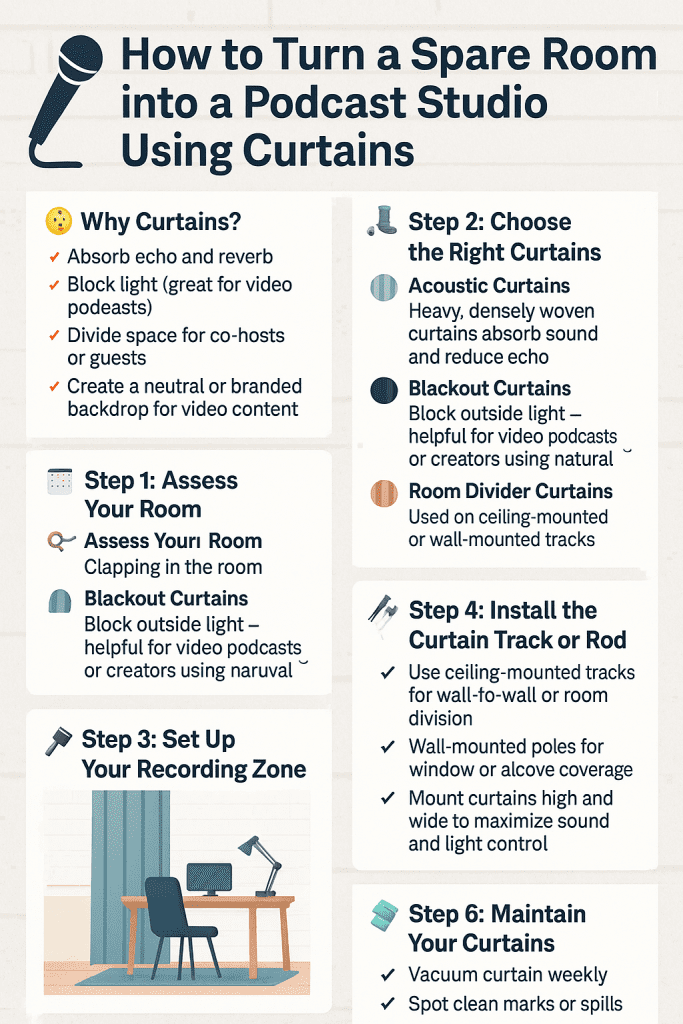
🎯 Why Curtains?
Curtains aren’t just for windows. Acoustic and blackout curtains are one of the easiest, most flexible, and cost-effective ways to control sound and light in a recording space. They help:
🔇 Absorb echo and reverb
🌑 Block light (great for video podcasts)
🚪 Divide space for co-hosts or guests
🎥 Create a neutral or branded backdrop for video content
🛠️ Step 1: Assess Your Room
Start by walking into your spare room and clapping your hands — do you hear an echo? Look at how sunlight enters the room. Ask:
Are there hard surfaces (like tile, wood, or bare walls)?
Do I need a visual backdrop for video?
Is there noise coming through the window or door?
Identifying these issues helps you choose the right curtain types.
🧵 Step 2: Choose the Right Curtains
Here are three curtain types that work best in podcast setups:
1. Acoustic Curtains
These heavy, densely woven curtains absorb sound and reduce echo, ideal for improving voice clarity. Hang them on walls, doors, or around your mic area.
2. Blackout Curtains
Block outside light for better control over your lighting setup. Especially helpful for video podcasts or creators using natural light windows.
3. Room Divider Curtains
Use ceiling-mounted or wall-mounted tracks to divide the space — perfect if you want to create a separate “recording zone” or screen off gear.
📏 Step 3: Measure Your Space
You’ll need:
📐 Width and height of each window or wall area you’re covering
🔩 Ceiling height if you’re installing ceiling-mounted tracks
🧱 Wall material (brick, plasterboard, etc.) to choose the right fixings
Pro Tip: Always add 10–15% extra width for a proper curtain “gather” (so they don’t hang flat).
🔧 Step 4: Install the Curtain Track or Rod
For best results:
Use ceiling-mounted tracks for wall-to-wall or room division
Use wall-mounted poles for window or alcove coverage
Mount your curtain high and wide to maximise sound and light control
Optional: Choose a curved or L-shaped track if you want to wrap around your mic or desk setup.
🎙️ Step 5: Set Up Your Recording Zone
With the curtains in place, set up your desk or mic in the most insulated part of the room (ideally near a curtained wall). Add rugs, soft furnishings, or plants to help with further sound absorption.
Make sure your recording area:
Feels quiet and contained
Looks clean and consistent on camera (if filming)
Is easy to close off and reconfigure
🧼 Step 6: Maintain Your Curtains
To keep your space studio-fresh:
Vacuum curtains weekly using a soft brush attachment
Spot clean any marks or spills immediately
Dry clean or steam heavy curtains every 6–12 months
Choose flame-retardant, low-maintenance fabrics if you’re podcasting frequently or sharing the space.
✅ Final Tips
🎧 Use acoustic curtains around all reflective surfaces for best results
🎬 Match curtain colours with your branding if filming
🏠 Consider extending curtains across entire walls for a full “studio” effect
🔌 Combine curtains with soft lighting and a good mic — no expensive studio required
📞 Want Custom Curtains for Your Podcast Setup?
Studio Curtains designs and installs acoustic, blackout, and track-mounted curtain systems for creators across the UK — including full setups for spare rooms, home studios, and media spaces.
👉 Contact us today or call [0800 772 0367] for a free consultation and quote.